
Is it possible to be in love with a backpack? Yes it is and I am feeling the love. This is so perfect for a winter day up here cruising the boutiques of Lake Placid. I'll wear it to the supermarket, too! Thats how much I loved it. If you saw my post, Fur Fantasies, a bit back, you know these are a rare and incredibly expensive animal. But, hey, we are sewists, right? We can make one of those and I tried and I did and I think it's a pretty decent knock off of the runway beauties. AND....no animals hurt in this process! Here is the 411. It was a long process as I am having other distractions at the moment but it got done, yay!

Pattern:
For this project I used the Swoon pattern, Lucy, a sweet little backpack. when I first downloaded it and saw the pieces I thought this is way to small for what I envisioned but I didn't recall that the fur I was using was almost two inches long. The volume greatly expanded once constructed and I was really glad I didn't print the PDF pattern at more than the 100% scale.

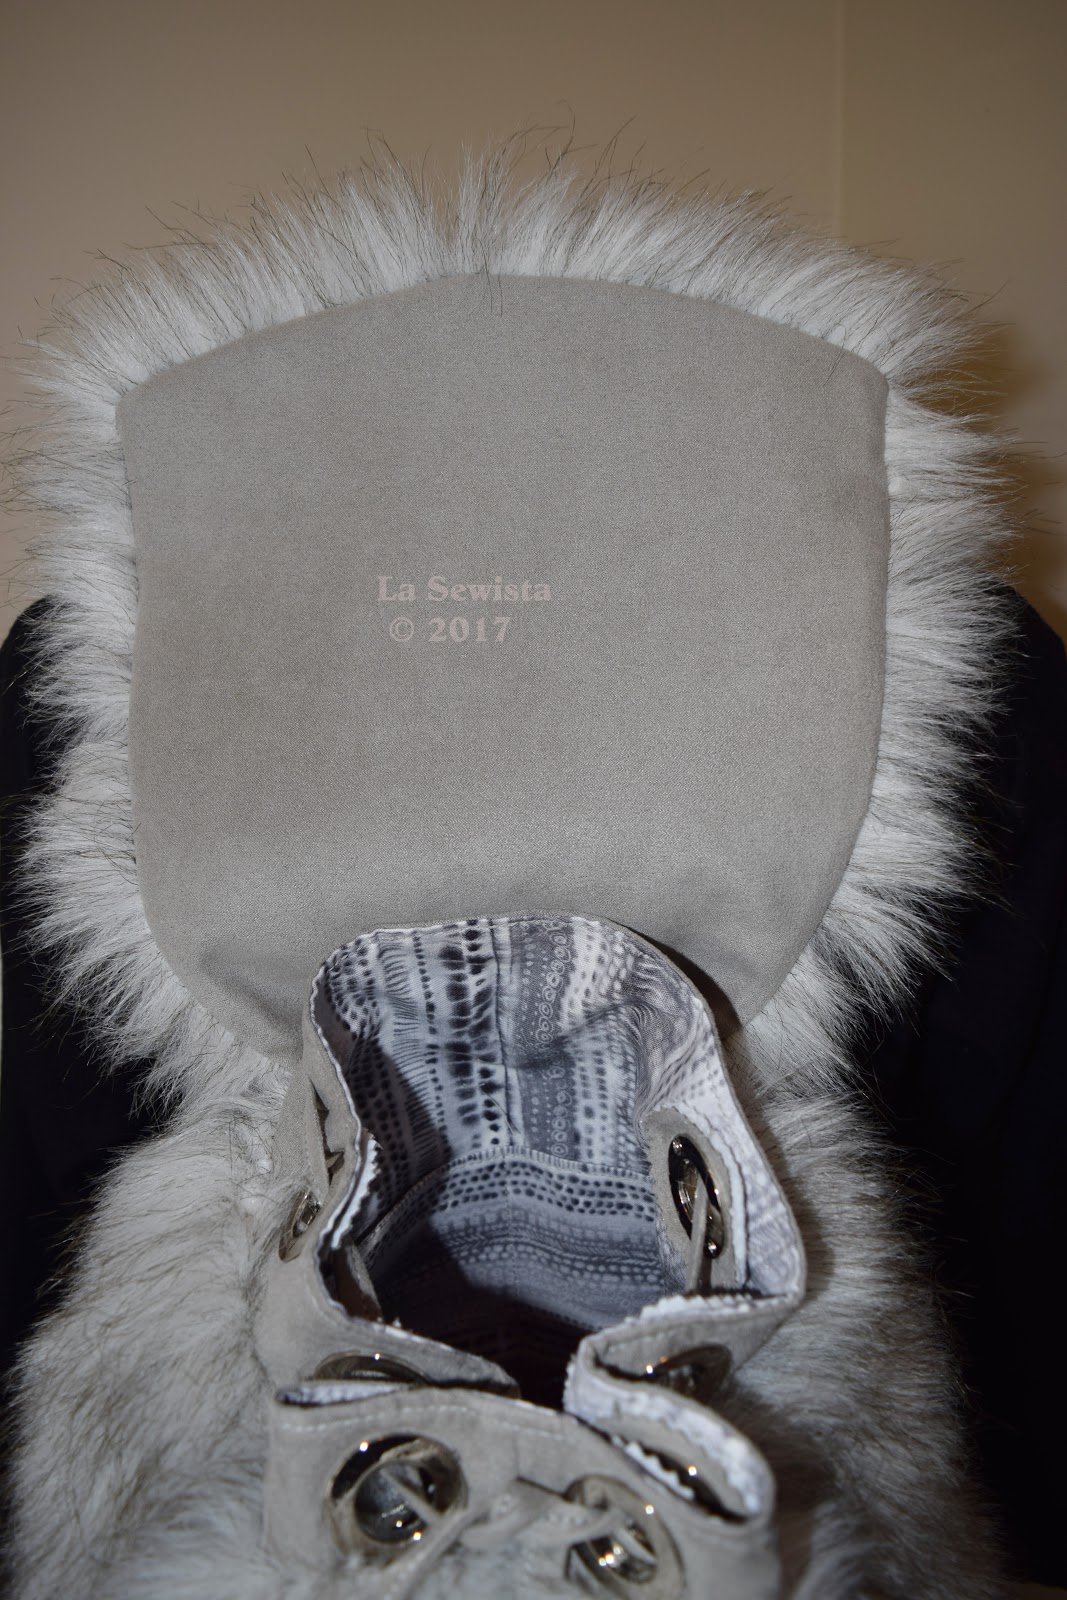
The back of the BP has a zipper pocket that is nearly the length of the bag. One of the things I really liked about this pattern is the zipper straps You can use this as a BP or zip up the straps and use it as a sling bag. Love that and I love the look of that zip on the straps.
I did have an experience with the cutting and folding of the various straps, confusion on my part. I emailed Alicia Miller, designer and owner of Swoon bags late at night and she got back to me the very next morning. It was all clear once I spoke with her and looked at the pattern again. Great to have a quick response and thank you, Alicia.
Fabrics and Notions:

This fur is faux, gorgeous and looks so much like real silver fox as you can see above. I have used it for hats before, I have tons, and it doesn't get ratty or matte-y. I bought about 7-8 years back from, are you ready for this, Joanns clearance. I think I paid six dollars a yard and I bought the whole monster bolt when I found it. May I say, enabler that I am, never hesitate to buy gorgeous faux fur when you find it. It's use will find you and a little goes a long way. Now, have I seen a faux of this quality since I bought this one? No such luck but I am hopeful. This is something so hard to purchase online.
The lining was a simple quilting cotton in an abstract gray and white print.
The contrast is a gray microfiber faux suede, not the easiest thing to stitch through but a size 14 jeans needles did the trick.

Zippers came from Sew Da Kine. I looked everywhere for these larger, metallic nylon coil zippers. It doesn't show in any of the pics but the zips are very shiny, silver metallic. They read white and are definitely not. One thing I LOVE about these zips is that they can be sewn through like butter. How good is that? The straps added more bulk to sewing than the zipper coils, that easy and they are pretty. They are also now available from Emmaline patterns and hardware, too. Emmaline is in Canada and Sew Da Kine is in Hawaii. They both ship quickly. Also, Sew Da Kine offers the zippers in "chain" form, meaning by the yard and offers the pulls as well. Emmaline's zips come with closed ends and are called "Vizzy zips".

Grommets and zipper pulls came from Emmaline and are a shiny nickel finish. These grommets have amazing shine and a 3/4 inch hole. They screw in and my set of tiny screw heads and their magnetic holder were priceless for the installation. You don't ever want to be dealing with such miniscule screws without a magnetic screw driver. Trust me.
Interfacings used were different from what the pattern spec'd. Everything, including the lining got fused with SF101, standard bag interfacing. Obviously I couldn't interface the fur but ahead speak to how I managed that. The flap and the bag bottom got a layer of Peltex. Can you imagine the bulk? I have a work around I'll share in a minute. One thing I did not do, which would have been nice but I couldn't do it at the stage I realized it was to fill the grommet band with maybe Decor Bond. Peltex would not have bent enough for the gathered up edge.
Construction:
I followed the instructions pretty closely other than the following:

I added a slip pocket to the exterior. This meant that the area behind the pocket had all it's fur shaved off to reduce bulk.

I used the large grommets which added weight to the top band, only interfaced with SF 101 on each side, not enough. I did something to help carry the weight and it worked. I've seen it in retail bags with grommets and straps. I made circles of the faux suede and backed them with peltex and fusible fleece. I then cut around them with pinking shears. the inside of the circle was cut out to accommodate the grommet holes. You can see what this looked like with the red arrows. While the edges show with the tilt of the photo, IRL, they don't come above the edge of the bag. Each grommet got one of these hard circles. When everything was lined up with the holes. E6000 glue was applied to the tiny screw holes and the backs of the grommet parts. Then they were all lined up and screwed in.

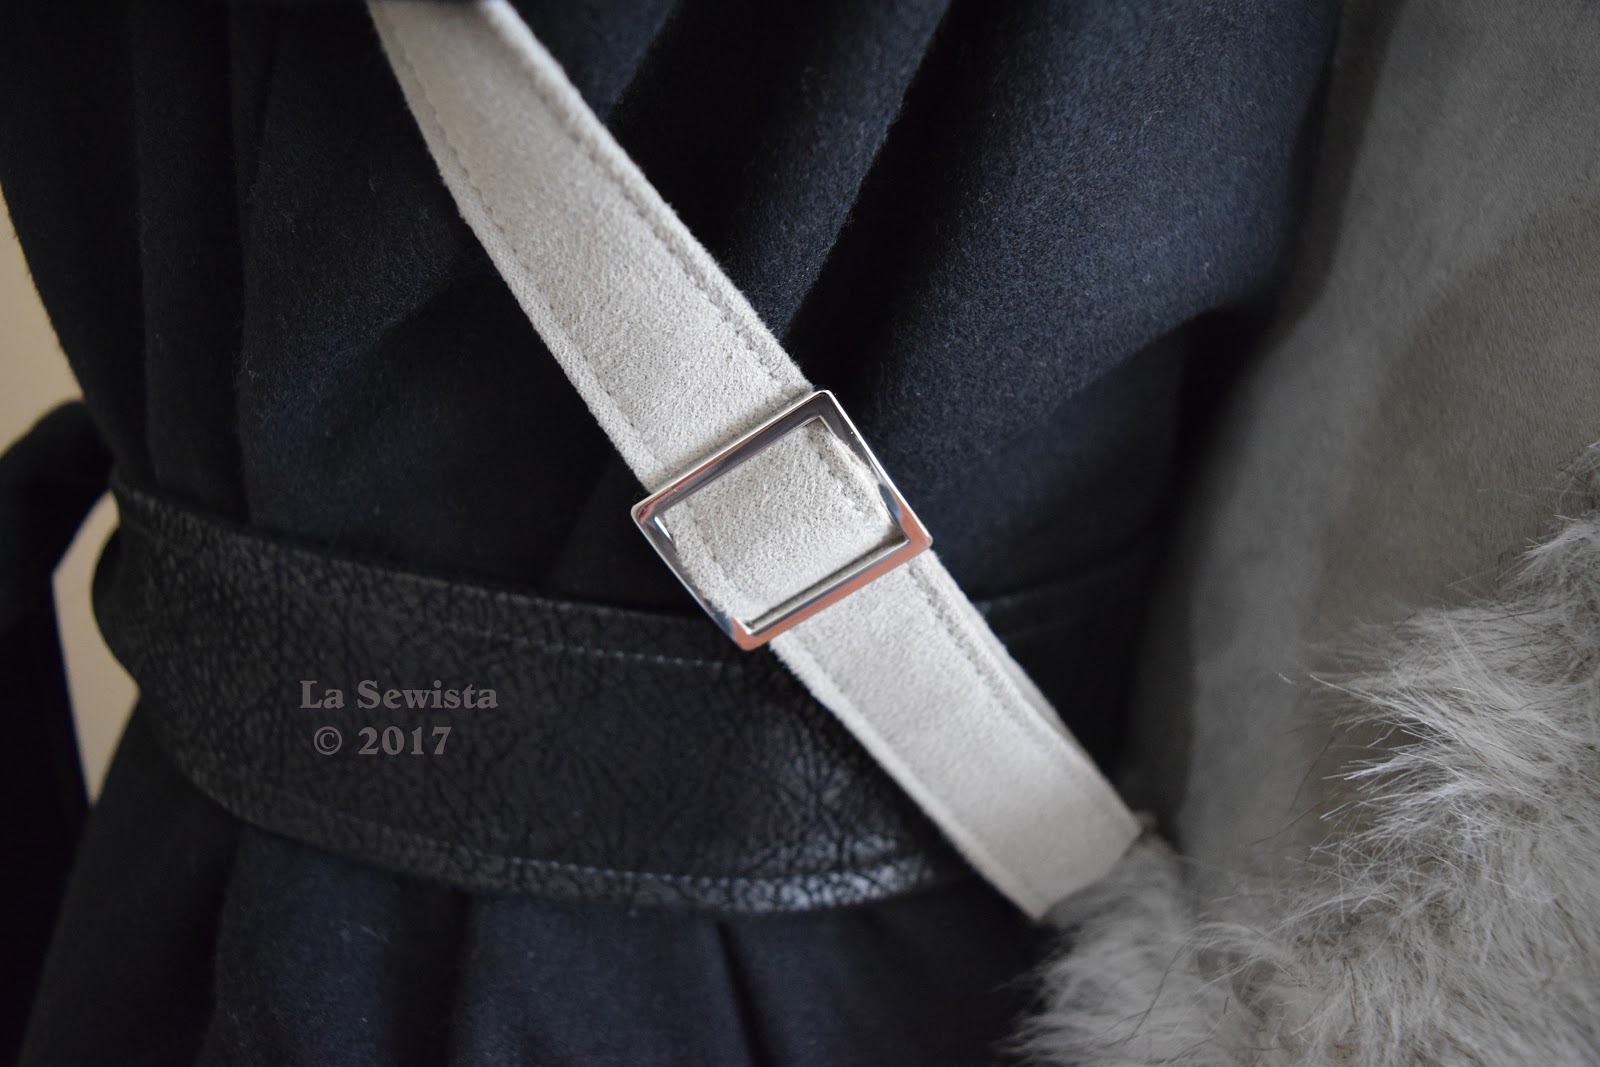
Straps were topstitched with regular C&C thread and a triple stitch. I went slow doing this and it took a while but the stitches came out better for it. I did not topstitch all areas spec'd. Those right next to the fur wouldn't show and it was an area of much bulk.
Another thing I did differently was the interfacing. To add the Peltex to the bottom and the flap without adding bulk I cut it out a quarter inch smaller than the finished size. It was then fused to a piece of muslin. The muslin was then treated as an underlining, getting sewn right into the seams like the top layer.
One last thing I did differently and it worked, was HANDSEWING the bottom of the bag to the bag sides with a small backstitch, two times around. It's going nowhere. There was no way I was getting all that fur under the presser foot and sewing a really straight line. The backstitching worked great. FWIW, sleeves are sewn into custom tailored suits this way, not on a machine, so don't be afraid to use this technique when you need to. It's a strong stitch.
In conclusion:
Would I recommend this pattern? Definitely. It's a great backpack pattern and I was impressed with Swoon's customer service response.
Would I make it again? I would definitely make this pattern again but not another fur BP. I hope this one will give me years of use and I I am thinking of a summer type BP, something rather preppy.
Thanks for bearing with me on this loooong journey. I hope you think it was worth the wait. I really enjoyed the challenge of this project and am proud of the results. While modeling on a couture runway is not in line with my genes, do you think I can pull off a couture fur backpack?....Bunny


